


Main Facts: The Frozen Trail Update and the Emperor Modulator
With the rollout of the major Frozen Trail update for Embark Studios’ multiplayer extraction shooter Arc Raiders, players have been presented with an expansive new tier of endgame progression. Chief among these additions is the introduction of "Amplified" weapons, a game-changing gear system designed to elevate firepower and tactical survivability against increasingly difficult machine threats.
However, unlocking this power is no small feat. To access the capability to craft these upgraded armaments, players must first upgrade their Gunsmith bench to Level 4. The cornerstone requirement for this upgrade is an elusive item known as the Emperor Modulator.
Securing the Emperor Modulator requires navigating one of the most perilous pieces of content currently available in Arc Raiders: The Emperor, a high-difficulty dungeon nestled away on the Pendola Pass map. Reaching the final loot room of this dungeon demands a meticulously crafted key—the Emperor Gateway Conduit—precise tactical execution, and a deep understanding of the dungeon’s randomized layout configurations.
Chronology: Step-by-Step Path to the Emperor Modulator
Obtaining the Emperor Modulator and successfully upgrading your arsenal requires a structured, multi-step progression path. Below is the precise chronological order of operations required to go from standard gear to fully amplified weaponry.
Phase 1: Acquiring the Emperor Gateway Conduit Blueprint
Before you can even think about stepping foot inside The Emperor, you need the recipe to build your key.

- The Blueprint: The Emperor Gateway Conduit blueprint can occasionally drop as a rare reward from Arc Couriers or across various map rotations.
- Alternative Farming: The most reliable way to secure the blueprint is by participating in the Redirection event on the Pendola Pass map.
Phase 2: Gathering the Crafting Materials via the Redirection Event
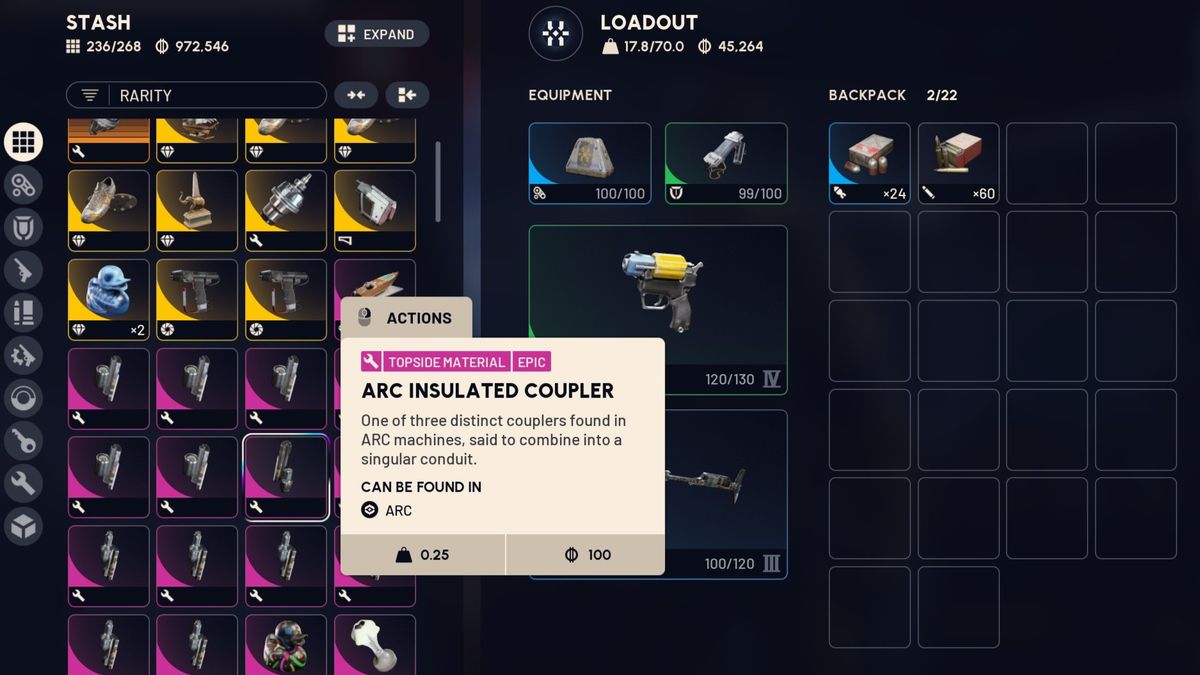
Crafting the Emperor Gateway Conduit key requires three distinct Arc Coupler items. These materials are farmed concurrently during the Pendola Pass Redirection event:
- Locate one of the Damaged Emperor Relays scattered across the map as it activates.
- Extract the beacon from the relay.
- Place the beacon down in a quiet, open area, and maintain a safe distance.
- Harvester payloads will drop in response. Loot the large central payload sticking out of the ground for a randomized chance to collect the required crafting components.
- Alternative: Alternatively, players can bypass the crafting process entirely if they manage to slip into The Emperor dungeon while another player or squad unlocks it.
Phase 3: Equipping for the Dungeon
Once your key is crafted, you must prepare your loadout. Essential equipment includes:
- The Snap Hook: Widely considered the most vital piece of traversal gear for clearing vertical encounters and bypassing environmental hazards.
- The Hullcracker: Essential for swiftly neutralizing lethal Hydra turrets encountered throughout the dungeon.
- Sufficient Medical and Ammo Reserves: Given the intensity of the encounters, bringing a surplus of supplies is non-negotiable.
Supporting Data & Dungeon Layout Analysis
Once you activate the door in the western sector of Pendola Pass using your Emperor Gateway Conduit key, you cross the threshold into The Emperor dungeon. While the initial corridor, Hydra turret, and electrified elevator (which is made safe by destroying yellow electrical nodes) remain static, the interior layout branches into randomized pathways.
The Standardized Entrance Sequence
Upon ascending the initial elevator, players will face one of two primary architectural layouts before converging on the fixed combat encounters.
The Emperor: Layout One
1. The Pillar Room
- Mechanic: Players slide down a ladder into a vast cavern dominated by floor-to-ceiling pillars.
- Solution: Locate and destroy the glowing yellow nodes on the pillars. Doing so lowers a specific pillar, allowing your team to ride it upward to the next tier.
2. The Crusher Room
- Mechanic: A room featuring closing walls that threaten to squash players, compounded by a noxious gas cloud that rapidly drains player stamina.
- Solution: Wait for the walls to retract, sprint to the dead-end zone while managing stamina, hang left, time the next wall contraction, and platform across the rear architecture to reach safety.
3. The Hydra Room (Bottom Approach)
- Mechanic: Approaching from a lower elevation, players are immediately met with active Hydra turrets and crushing hazards.
- Solution: Utilize the Snap Hook to rapidly ascend toward the upper-left exit door. Deploy the Hullcracker immediately to eliminate any Hydra targeting you.
The Emperor: Layout Two
1. The Container Room
- Mechanic: A massive warehouse-style room filled with shipping containers and harvester payload racks.
- Solution: Use the Snap Hook to scale the verticality of the room, locate the container that dynamically lowers, and ride it to the upper ledge.
2. The Laser Tunnel
- Mechanic: A narrow corridor choked with high-speed, high-damage spinning lasers.
- Solution: Crouch in the exact center of the tunnel behind the central drum obstacle, which provides absolute cover from the sweepers. Carefully time your advance to cross the threshold with minimal health loss.
3. The Hydra Room (Top Approach)
- Mechanic: Players drop downward into a contested zone swarming with automated security.
- Solution: Drop onto the forward crate, neutralize the first activating Hydra, slide down the front rail, circle around, and use the Snap Hook to clear the distance to the upper-left door before secondary turrets zero in.
The Final Encounter and Extraction
Regardless of which layout you navigate, all paths eventually lead to the definitive encounter room:
- The Descent: Drop down to the lower platform and descend the final ladder to the ground floor.
- The Ambush: Touching the floor triggers the massive far-end door to open, spawning a wave of hostile Arc units. Tactical discretion is advised; hiding to let the enemy patrol disperse is often safer than engaging head-on.
- Looting Phase: Once the area is clear, loot the standard containers (keeping in mind that red containers will detonate after a short delay). Furthermore, target the yellow nodes located on the left and right walls. Destroying these reveals hidden payload racks packed with high-tier rewards.
- Securing the Modulator: One or two of these revealed racks are guaranteed to yield Emperor Modulators. Immediately secure the item in your safe pocket to guarantee extraction.
- Exfiltration: Exit via the newly opened main hatch, or utilize the side exit doors if you cleared the wall nodes.
Official Responses and Developer Intent
Embark Studios has framed the Frozen Trail update as a direct response to the community’s desire for deeper endgame loops and more specialized gear customization. By tying high-end progression—such as the Level 4 Gunsmith bench and Amplified weapons—to structured dungeon runs like The Emperor, the developers aim to foster a healthier risk-versus-reward ecosystem.
Design updates shared by the development team emphasize that PvE dungeons in Arc Raiders are intended to test not just raw gunplay, but map awareness, resource management, and strategic loadout composition. The inclusion of randomized layouts within The Emperor ensures that even veteran players cannot rely purely on rote memorization, keeping cooperative runs fresh and challenging.
Implications for the Arc Raiders Ecosystem
The introduction of The Emperor dungeon and the pursuit of the Emperor Modulator carry significant implications for the broader meta of Arc Raiders:
- Shift in Player Economy: As more players successfully clear the dungeon, the prevalence of Amplified weapons in standard matches will drastically shift PvP and PvE power dynamics. Players wielding these upgraded arms will enjoy distinct advantages in damage output and utility.
- Pendola Pass Hotspots: Because the Redirection event and the dungeon entrance are both tied to the Pendola Pass map, this region has instantly transformed into a high-traffic hotspot. Solo players and squads should expect heavily contested extractions and frequent skirmishes around Damaged Emperor Relays.
- The Meta for Traversal and Utility: Items like the Snap Hook and Hullcracker have transitioned from situational tools to absolute meta-staples. Players looking to progress past Tier 3 upgrades will find themselves heavily pressured to bring these specific loadout choices into every expedition.
Ultimately, mastering The Emperor represents a major rite of passage in Arc Raiders. Those patient enough to farm the Redirection event, assemble the conduit, and conquer the dungeon’s labyrinthine layouts will find themselves at the absolute bleeding edge of the game’s current progression frontier.

