By the Editorial Games Desk Published: October 2023
Introduction: Mastering the Mutant
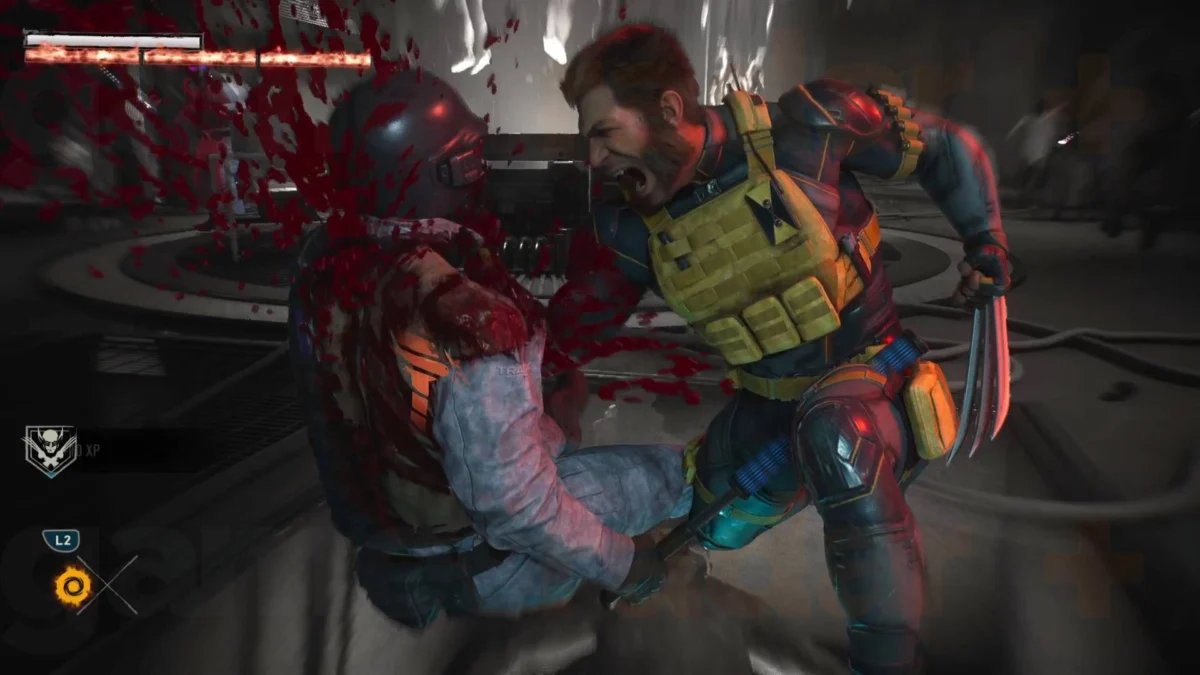
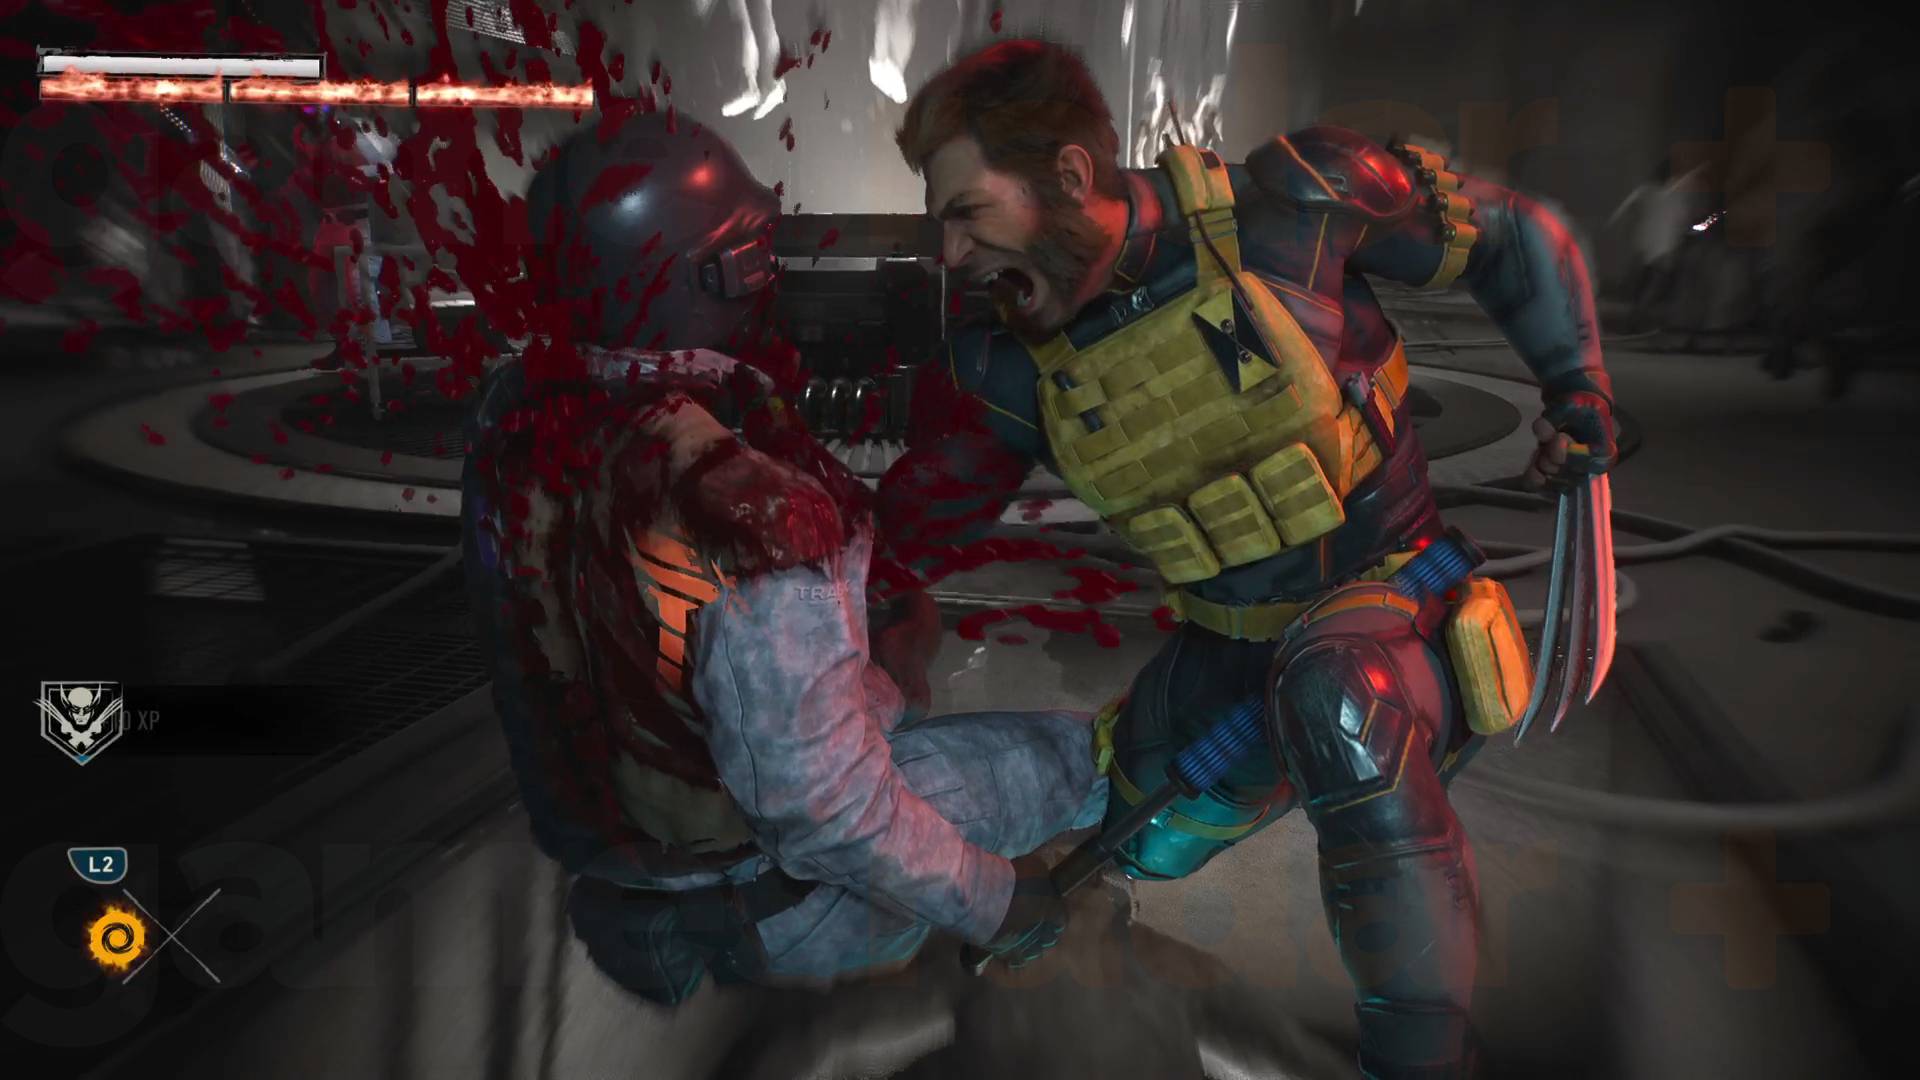
When Insomniac Games first announced they were stepping into the blood-soaked, adamantium-laced world of Logan in Marvel’s Wolverine, action enthusiasts knew they were in for a brutal ride. True to form, the studio has delivered a combat system that is as visceral as it is deeply strategic. Central to surviving the blood-drenched corridors and open-world arenas of the game is the Adaptations system—a robust perks-based mechanic that transforms Logan from a formidable brawler into an unstoppable, feral powerhouse.
For players looking to conquer the game’s toughest difficulty settings, managing these upgrades is vital. With 25 unique Adaptations to discover across a 10-level progression tier, knowing what to equip and when can make the difference between swift victory and getting shredded by adversarial hordes. Below is the comprehensive, level-by-level breakdown of the best Wolverine Adaptations, designed to optimize your build from your first whiskey bottle to the endgame credits.
Main Facts: What Are Adaptations and How Do They Work?
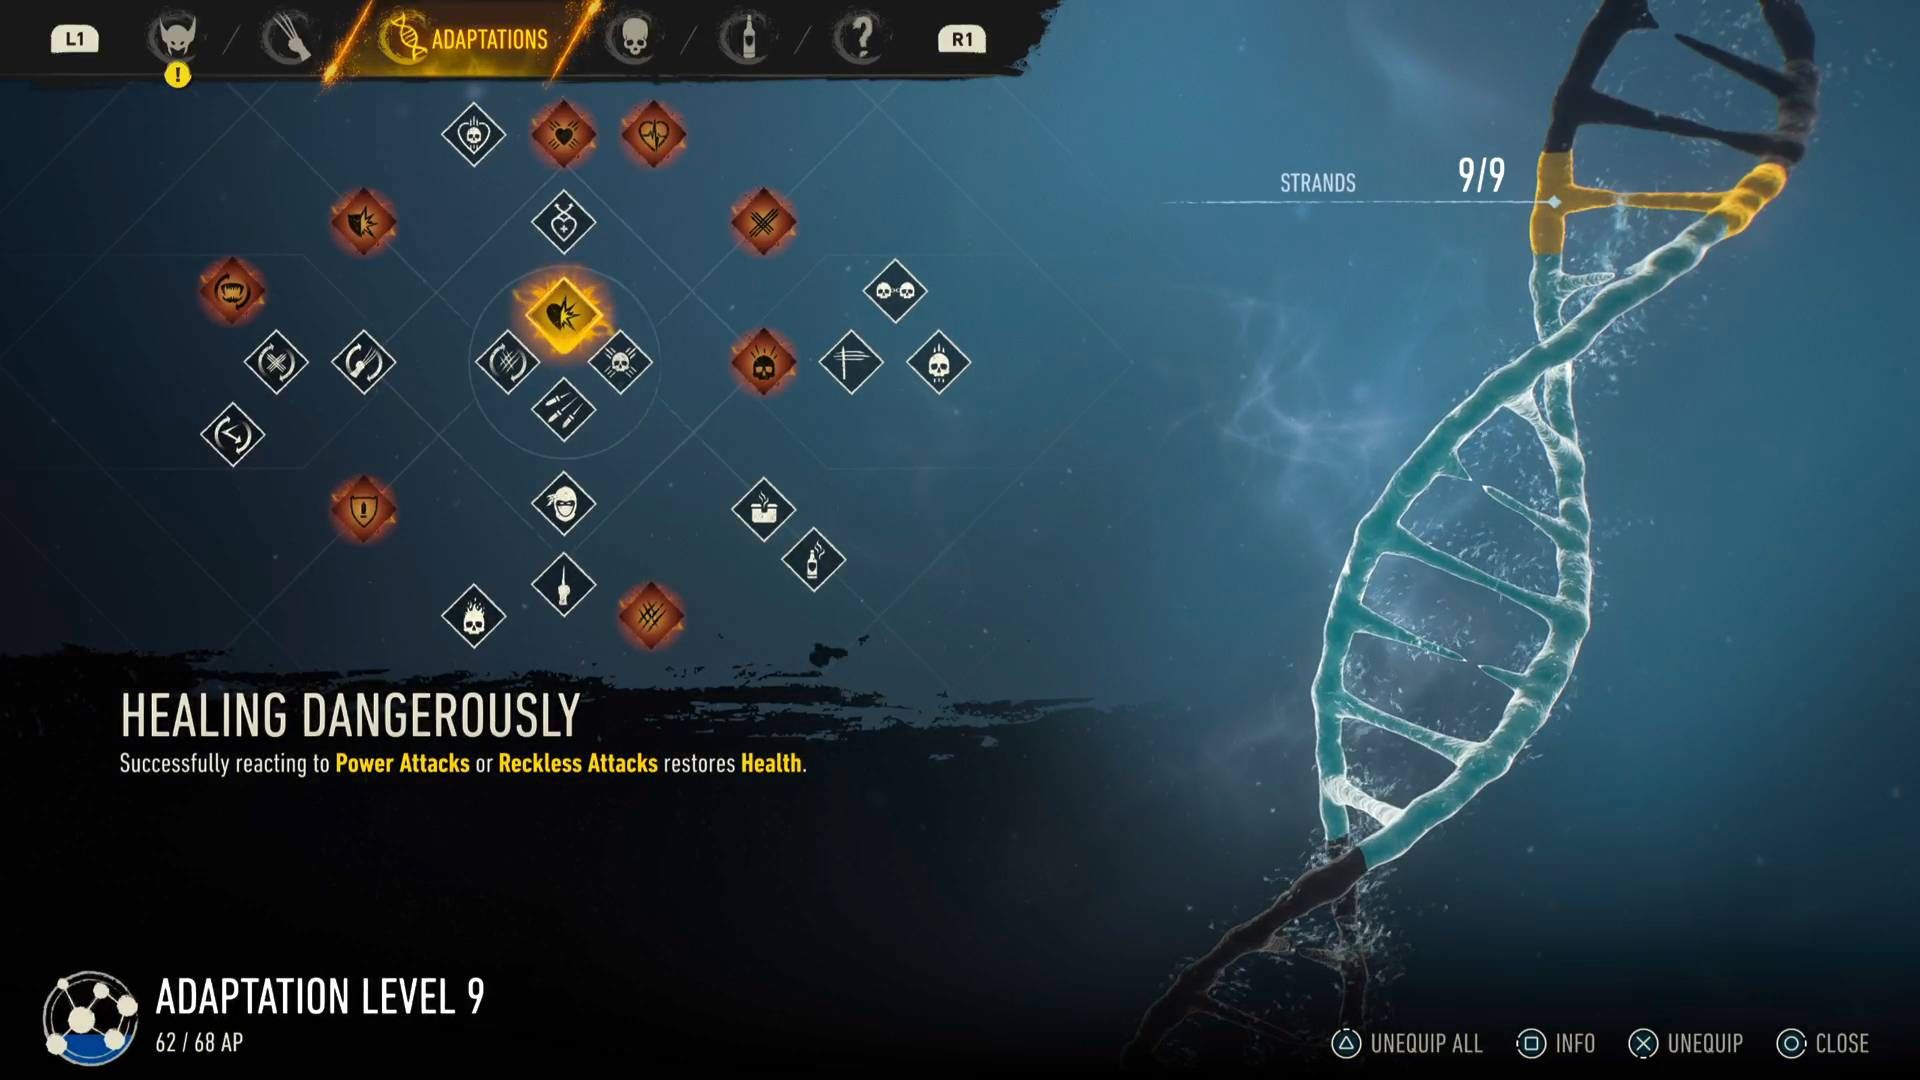
At their core, Adaptations function like traditional RPG perks or passive skill modifiers. They fundamentally alter how Logan interacts with the battlefield, modifying everything from his health regeneration rates to his critical strike damage and Rage meter efficiency.
The Starter Setup: Players begin their journey with a modest pool of four initial Adaptations and a single "Strand"—the game’s terminology for active equipment slots.
Unlocking Power: To expand your repertoire and increase your available Strands (up to a maximum of 10), you must hunt down collectible whiskey bottles hidden throughout the maps and conquer the perilous trials known as Nightmare Doors.
The Synergy of Rage: The overwhelming majority of top-tier Adaptations are engineered around maximizing Logan’s Rage mechanic. When Rage is maxed out, Wolverine can clear crowds of enemies in mere seconds, utterly flattening the combat landscape.
As players pour Technique Points into mastering combat techniques, pairing those skills with the correct Adaptations creates a synergistic engine of destruction.
Chronology & Progression: The Level-by-Level Build Guide
As you progress through the narrative—which averages under 20 hours for a standard playthrough, though time varies depending on puzzle blocks like the infamous Shiro closet lock code—your Strand capacity increases alongside your Adaptation level. Here is how you should curate your loadout step-by-step.
Adaptation Levels 1 to 3: Establishing the Foundation
Level 1: When you first step onto the battlefield with a single Strand, Expanded Crit is your best friend. It enhances the potency of your Rage ability when powered up. However, if you find yourself struggling to stay alive in early encounters, Healing Dangerously provides a viable safety net.
Level 2: Unlocking your second Strand allows you to run a dual setup. Equip whichever option you skipped at Level 1—pairing Expanded Crit with Healing Dangerously gives you both offensive punch and defensive survivability. Stealth is largely secondary in this title, and while Bullet Sponge has niche early-game uses, it shouldn’t be prioritized.
Level 3: With three Strands now unlocked, add Extended Parry to your loadout. Parrying is a non-negotiable pillar of Insomniac’s combat engine. At this milestone, consider swapping out Healing Dangerously for Healing Dodge, as active evasion will yield higher returns during fast-paced skirmishes.
Adaptation Levels 4 to 6: Ramping Up the Feral Fury
Level 4: Slot in Tough Skinned with your newly unlocked fourth Strand. This passive buff grants Logan the resilience required to absorb heavy incoming fire and melee barrages without breaking his combo rhythm.
Level 5:Rage Intimidation takes center stage here. This perk expands your Rage repertoire, allowing you to crowd-control and dismantle larger groups of enemies at an accelerated pace. Pro tip: Swap Healing Dodge for Healing Parry at this juncture, as your playstyle shifts naturally toward counter-attacking.
Level 6: Double down on your offensive capabilities with the Enraging Ender Adaptation. Filling your meter faster means you spend less time building up and more time tearing through enemy lines.
Adaptation Levels 7 to 10: Achieving Godhood
Level 7: You are presented with a tactical fork in the road. Enraging Barrage accelerates your Rage generation, while Tier 2 Crit maximizes the destructive output of your Rage state. Choose based on your combat flow—either build your meter faster or make it hit exponentially harder.
Level 8: Equip Chain Crit. The supplementary intimidation effects attached to this perk scale up your multi-target attack potential the moment you trigger Rage mode.
Level 9: This is arguably one of the most transformative unlocks in the game. Rage Longer extends the duration of your Rage mode, giving you extended windows to wipe out entire platoons of heavily armored foes.
Level 10: Reaching the final level does not grant a new Adaptation; instead, it unlocks your tenth and final Strand slot. The community consensus and meta-analysis point to re-equipping Enraging Barrage (unlocked back at level 7) to maximize your core meter-building engine.
Supporting Data: Understanding the Meta
To put the value of these builds into perspective, player metrics and combat trials from early access phases demonstrate clear efficiency curves:
Damage Output Scaling: Players who prioritize a pure Rage-focused build (combining Expanded Crit, Enraging Barrage, and Rage Longer) report clearing endgame encounter arenas up to 40% faster than those running defensive or stealth-hybrid configurations.
Exploration Incentives: Completionists will find that hunting down all available whiskey bottles and conquering every Nightmare Door is not just a cosmetic endeavor (unlocking various iconic Wolverine suits along the way), but an absolute mathematical necessity to unlock the 10-Strand ceiling required for maximum combat efficiency.
Official Responses and Developer Insights
Insomniac Games has remained relatively tight-lipped regarding specific balance patches for the Adaptation system, but lead combat designers have previously emphasized player choice in interviews leading up to launch.
"We wanted Logan to feel heavy, dangerous, and utterly relentless," noted a senior developer during a deep-dive preview panel. "The Adaptation system isn’t just about making numbers go up; it’s about letting the player author their own version of the berserker experience. Whether you want to turtle up and heal through parries or lean entirely into a high-risk, high-reward Rage frenzy, the tools are there to support your playstyle."
Implications for the Gameplay Loop and Future Content
The depth of the Adaptation system hints at a broader philosophy within Insomniac’s Marvel universe: moving away from static character builds toward fluid, customizable combat profiles. By tying progression directly to exploration elements like hidden whiskey bottles and environmental puzzle rooms (such as the Shiro lock code), the developers successfully bridge the gap between open-world exploration and mechanical mastery.
For players investing their time into Marvel’s Wolverine, mastering these 10 Strand slots ensures that no matter what high-difficulty encounters or DLC challenges Insomniac introduces down the line, Logan will always be the best there is at what he does.